

OBS Studio
Introduction
Want to know how top streamers maintain high-quality streams without performance drops?
The answer might be OBS Studio! It is one of the top-performing, free, open-source live streaming and video recording software. Although it has a very simple user interface, it may still be a bit tricky to use in the beginning.
Worry not! This blog is your handy guide to learning everything about the OBS as a beginner. We will discover how to add its sources, use multiple video sources at once, set up images and text in scenes, set up hotkeys, screen record, and more.
What is OBS Studio?
OBS (Open Broadcaster Software) is a free and open-source live streaming and video recording software. It captures and mixes audio and video sources. Users can stream directly to multiple social media platforms, such as Twitch, YouTube, and Facebook.
How to Use OBS Studio?
It involves a few manual steps to set up OBS! These steps are independent of utilizing OBS’s Auto-Configuration Wizard. So, let’s learn to use it the right way below!
Step 1: Download
Firstly, know your operating system. Now, visit the official website of Open Broadcaster Software and hit the Download button.
Step 2: Launch Auto-Configuration Wizard
Right after you download this software, you will receive an automatic prompt to run the auto-configuration wizard. Enter your internet connection and your desired frame rate and streaming resolution details.
Also, choose whether you want to stream or record with OBS. The software will perform a test afterward to determine relevant settings.
Step 3: Adjust suggestions (optional)
This is an optional step, as you can manually reset the suggested settings based on your preference. You can check these on the Settings menu at the top-right corner of the interface.
Step 4: Configure audio sources
Now, configure your microphone and any other audio source settings. Click the Settings> Audio tab. Here, you can set your default microphone and speakers, adjust audio levels, and add features like noise suppression.
Step 5: Add your streaming source
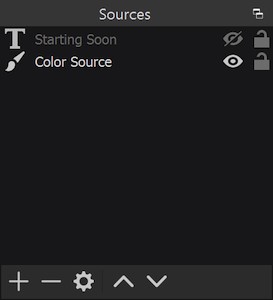
Set the source where you will capture and broadcast your live streams. Go to the Sources section and tap the + button to add a relevant source.
Sources (the meat of OBS Studio) contain a long list, including Display Capture, Game Capture, Image Slide Show, Media Source, Video Capture Devices, and more.
Step 6: Review and set output modes
Go to Settings> Output tab and confirm the configuration details. Here, you can set Output Mode as Simple or Advanced. Under Recording Settings, you will get options like Recording Path, Recording Format, Audio Track, Encoder, Rescale Output, Recording Quality, and more.
Know how to set these output recording settings in detail here.
Step 7: Test your stream
This is the crucial step to test your streaming before you go live! Click the Start Streaming button to launch a test stream mode. Observe any audio or video issues during test streaming on your selected platform.
How to add video sources to OBS Studio?
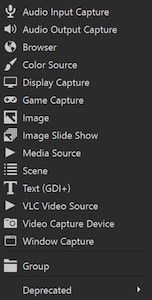
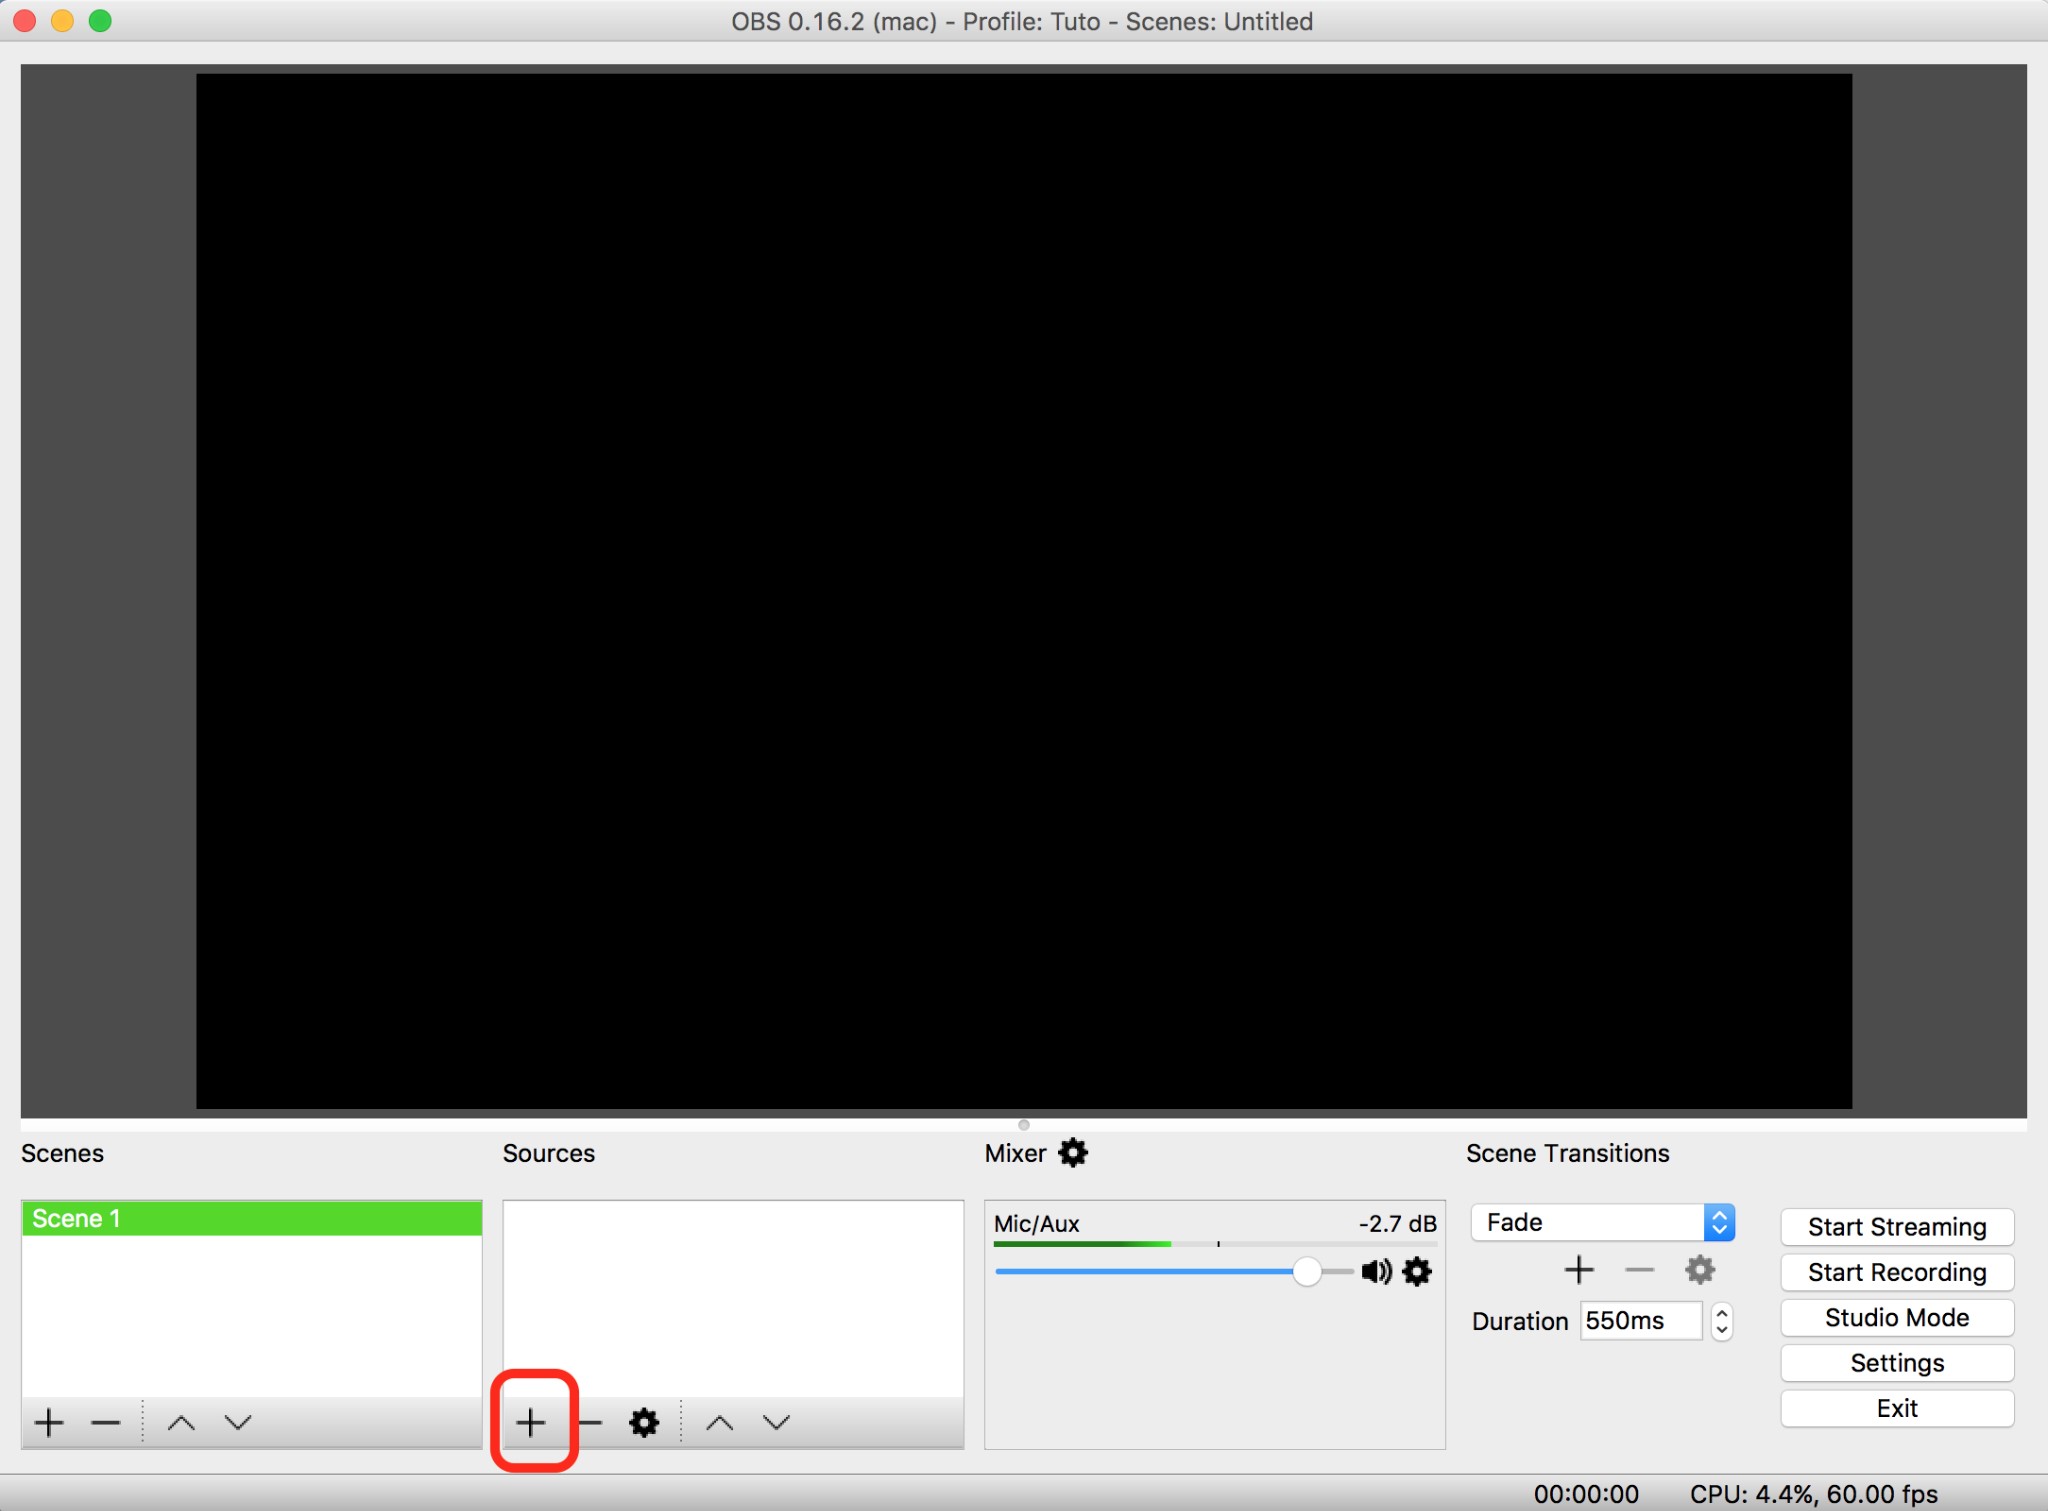
Firstly, tap the + icon at the bottom of the Sources dock to add any source.
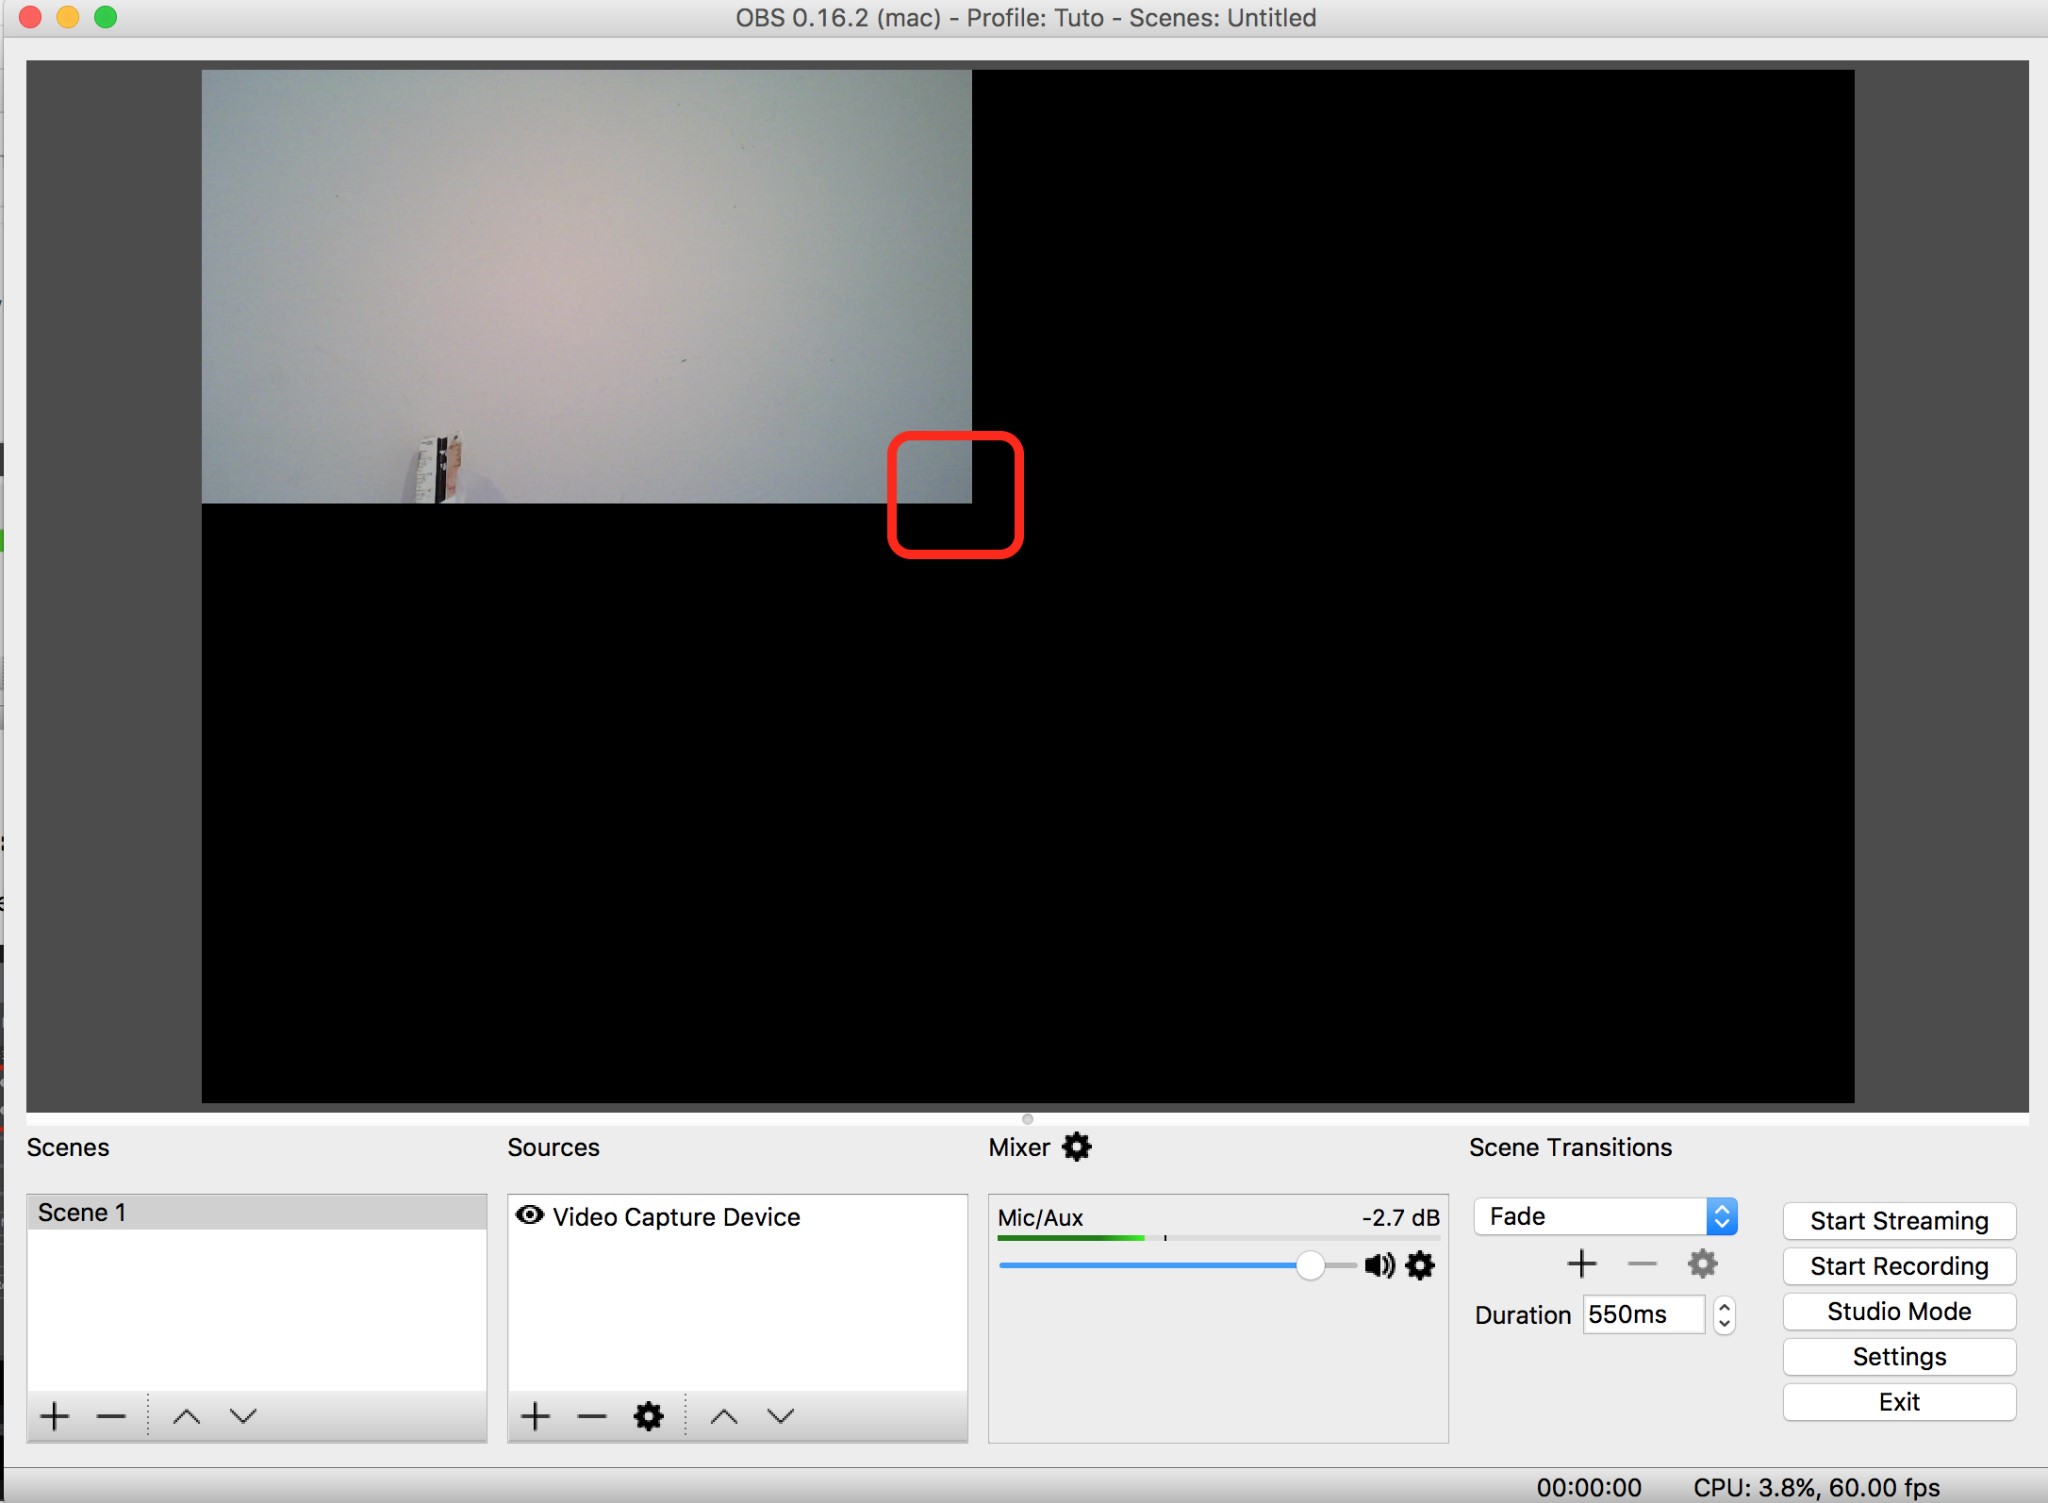
Then, select the Video Capture Device from the list of sources.
You can add webcams and capture cards with Video Capture Sources.
However, it also allows to add a variety of other video devices.
If you are on Windows, it should support DirectShow output to work with OBS.
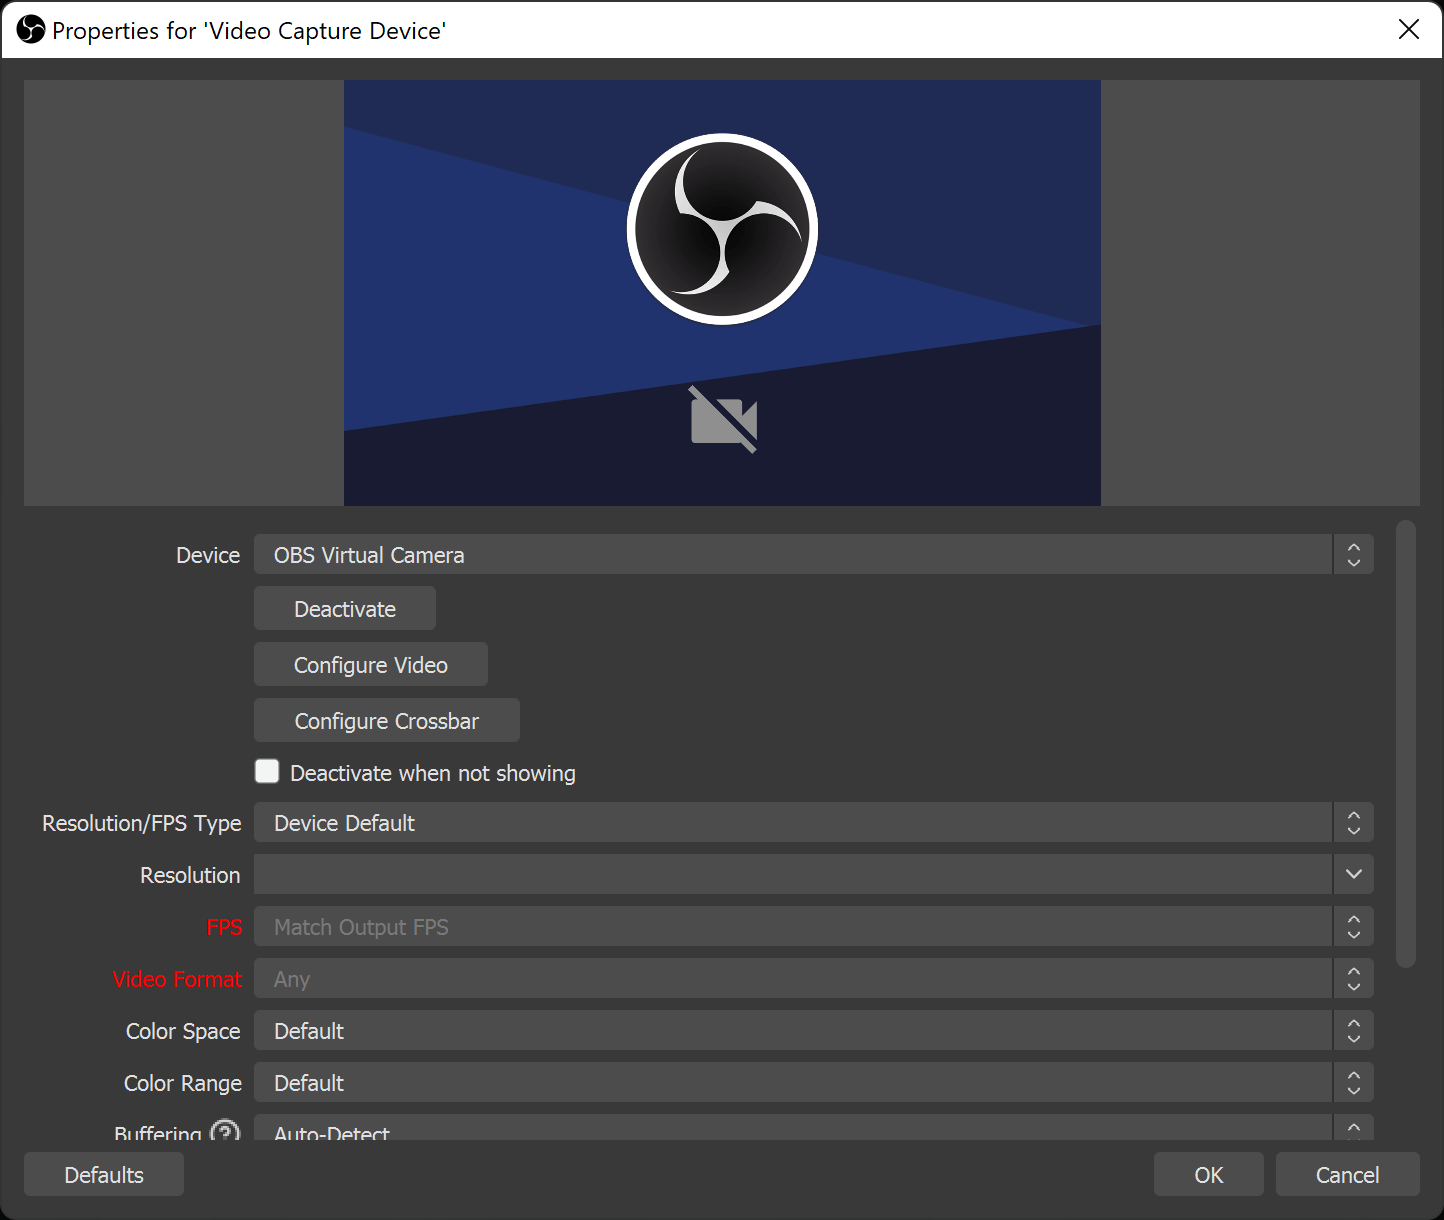
Add the source to your video capture device, open the properties, and choose the device from the Device drop-down list.
Below is a screenshot from Windows.
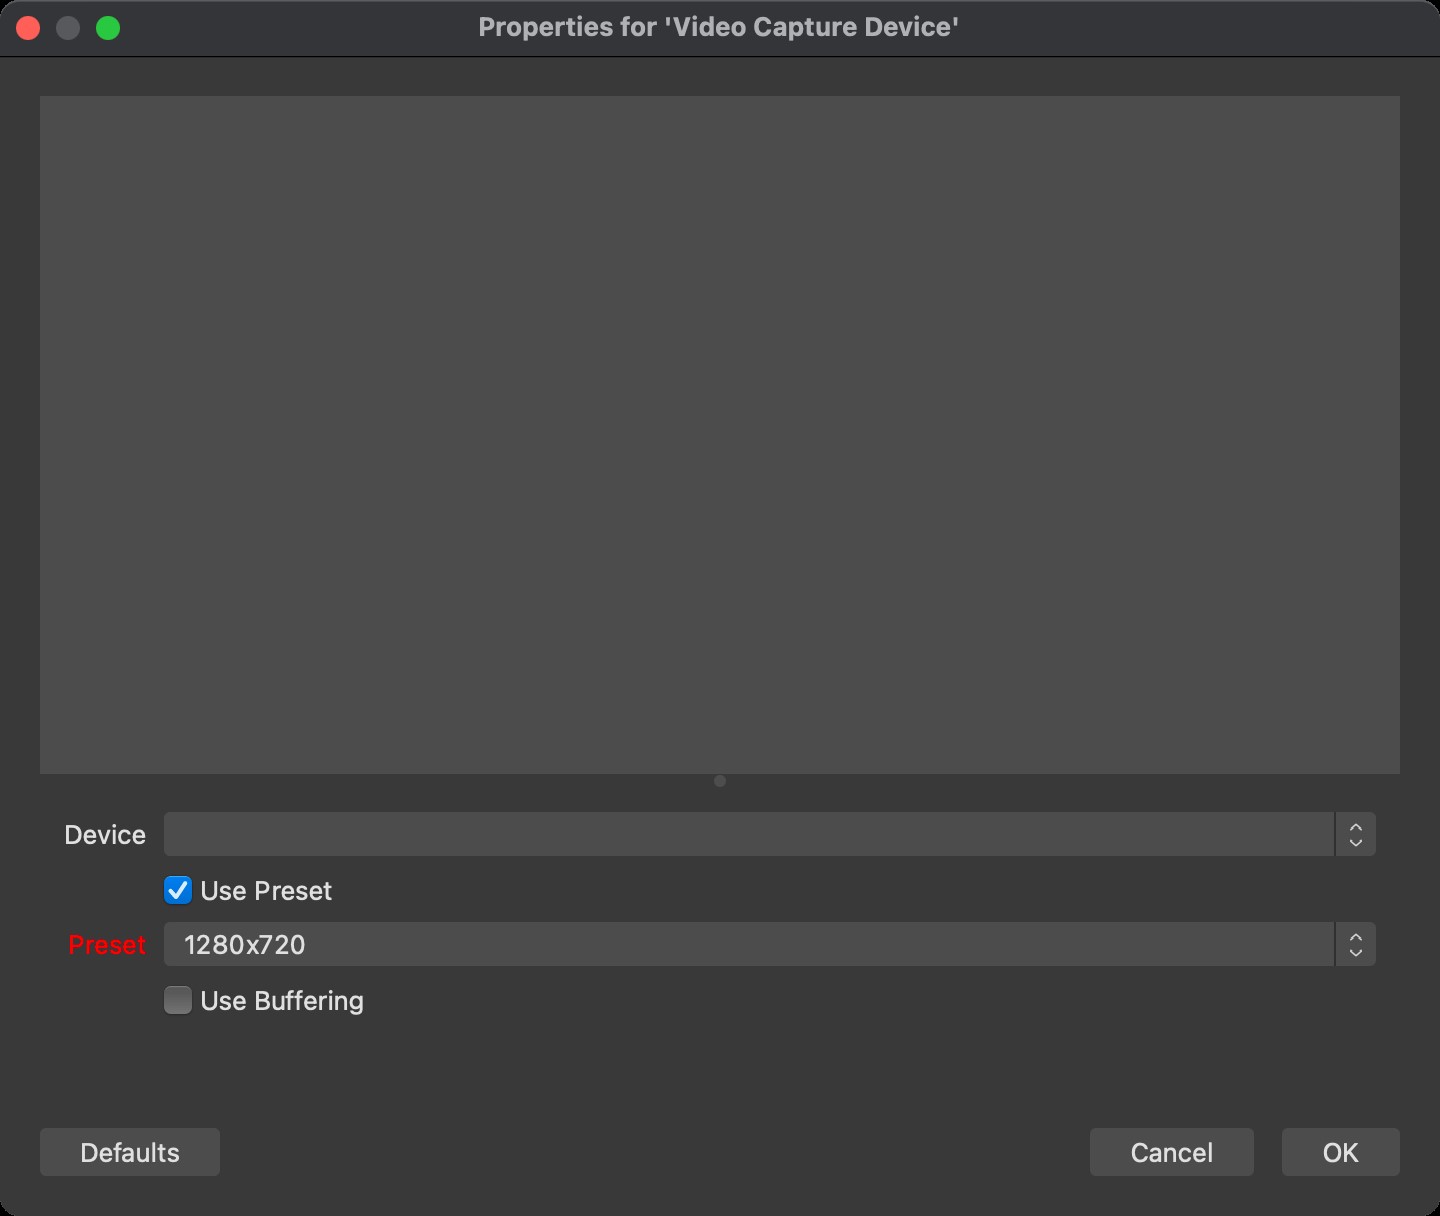
Below is a screenshot from macOS.
Read the detailed guide here on how to add V4L2, Blackmagic Device, and AJA Device.
How to Use the OBS Screen Recorder?
Step 1: Go to Settings
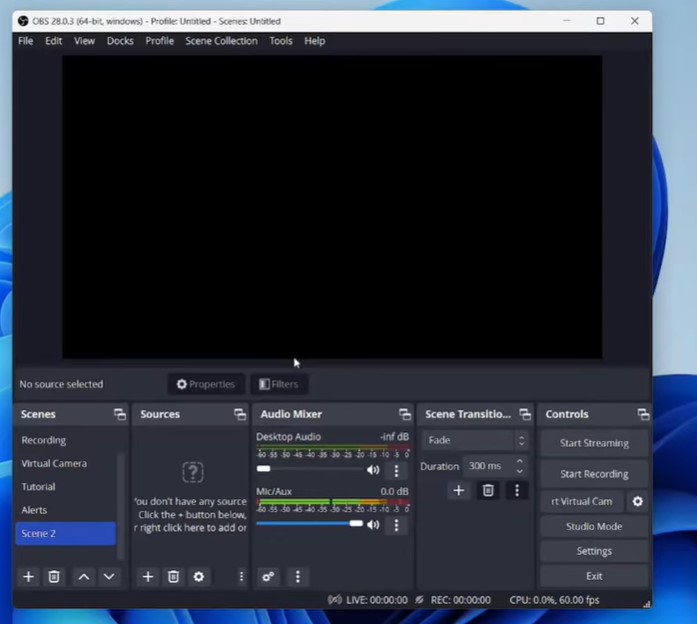
After you select the Scene (Scene 2 in our case) in the OBS Studio, tap the Settings button.
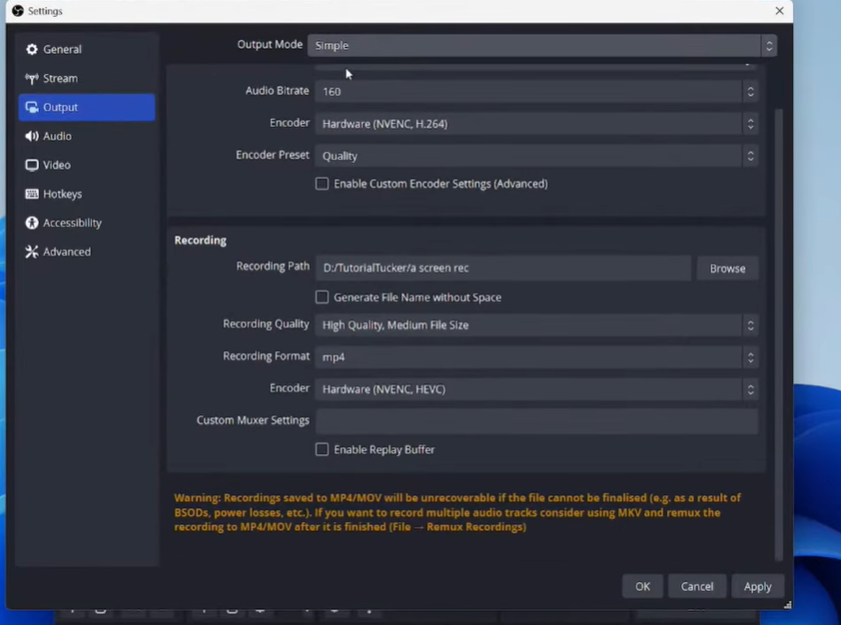
Step 2: Adjust Output Settings
Keep the General and Advanced settings as is! Head over to Output and adjust its settings, as shown below. Click Apply at the bottom right corner and save the changes.
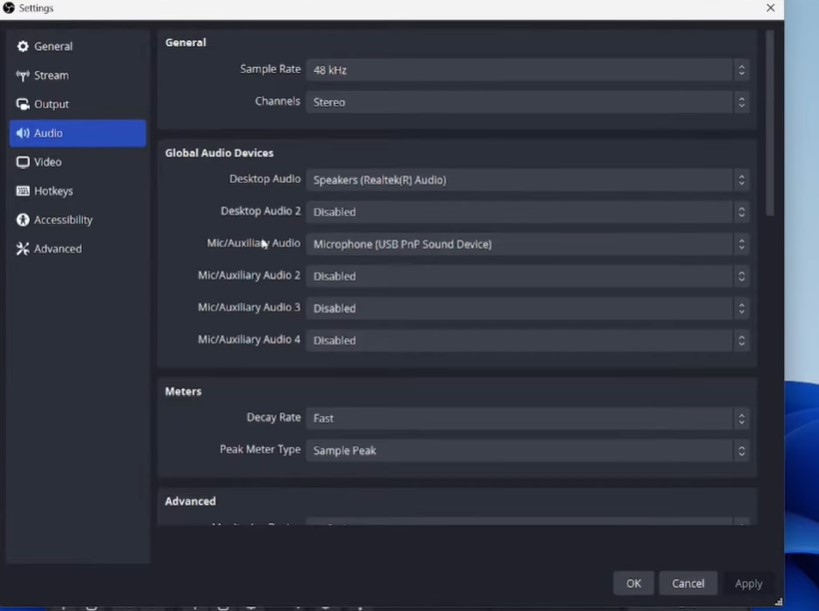
Step 3: Adjust Audio Settings
Go to the Audio tab and save its settings, as shown below. Select the right mic and desktop audio. Otherwise, you won’t be heard!
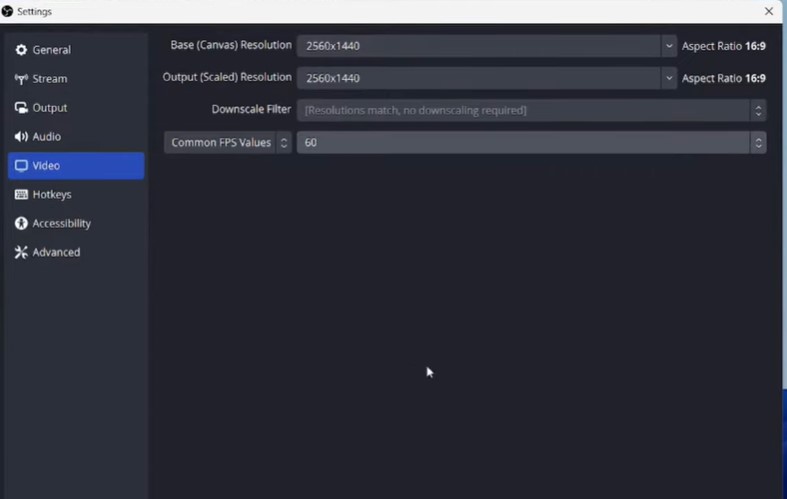
Step 4: Adjust Video Settings
Go to the Video tab and adjust its settings according to the output resolution and common FPS you want. You can also set the common FPS to 30 (it’s also the standard FPS!).
Step 5: Set the hotkeys
Go to Hotkeys and set them as you desire. In the illustration below, we have set F12 as hotkeys for the Start Recording and Stop Recording options.

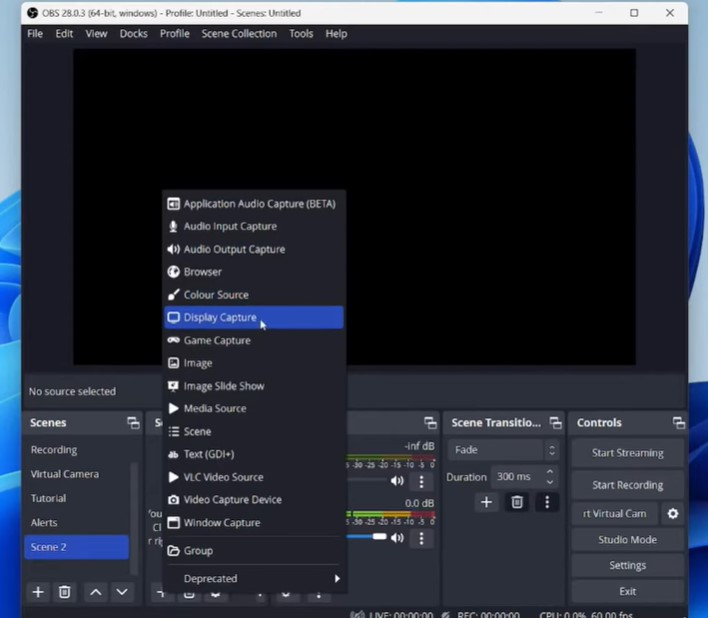
Step 6: Add a source
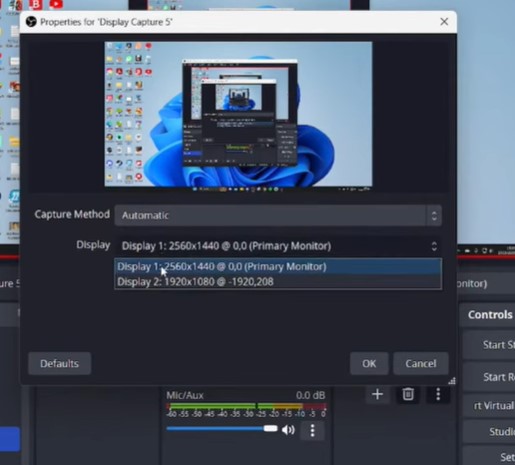
Click the + icon in the Sources group and choose Display Capture to record the entire screen. Then, select Method Capture and Display. Now, hit the OK button and save the changes.
Step 7: Set Audio Mixer
Go to the Audio Mixer and set it right. For instance, you can quiet your computer audio so that your mic’s audio gets heard well.
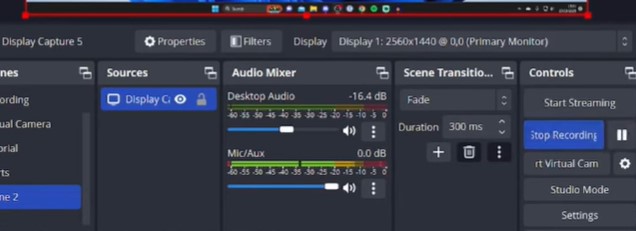
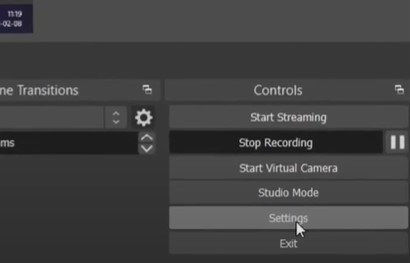
Voila! All the steps are done. You can now start recording your desktop screen by clicking the Start Recording button on the right side of the interface.
NOTE: All these images are taken from this YouTube tutorial.
How do you Add Images or Text with OBS Studio?
Add text in OBS Studio
Let’s suppose you want to add text between the audio and the video in OBS! Below are the exact steps to do that.
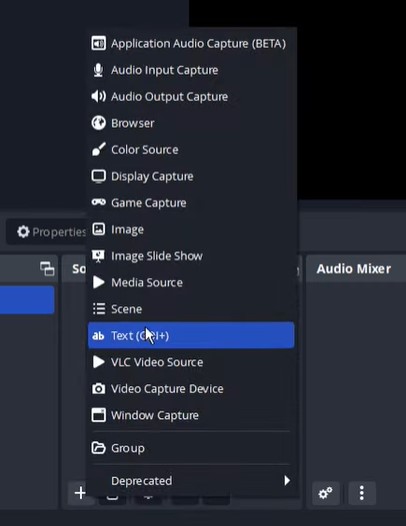
Step 1: Select the source
Click the + icon to Add Sources and choose Text (GDI+) as demonstrated below.
Then, a popup window will appear, asking you to name it. We suggest you name it exactly what the text is. Click OK to save it.
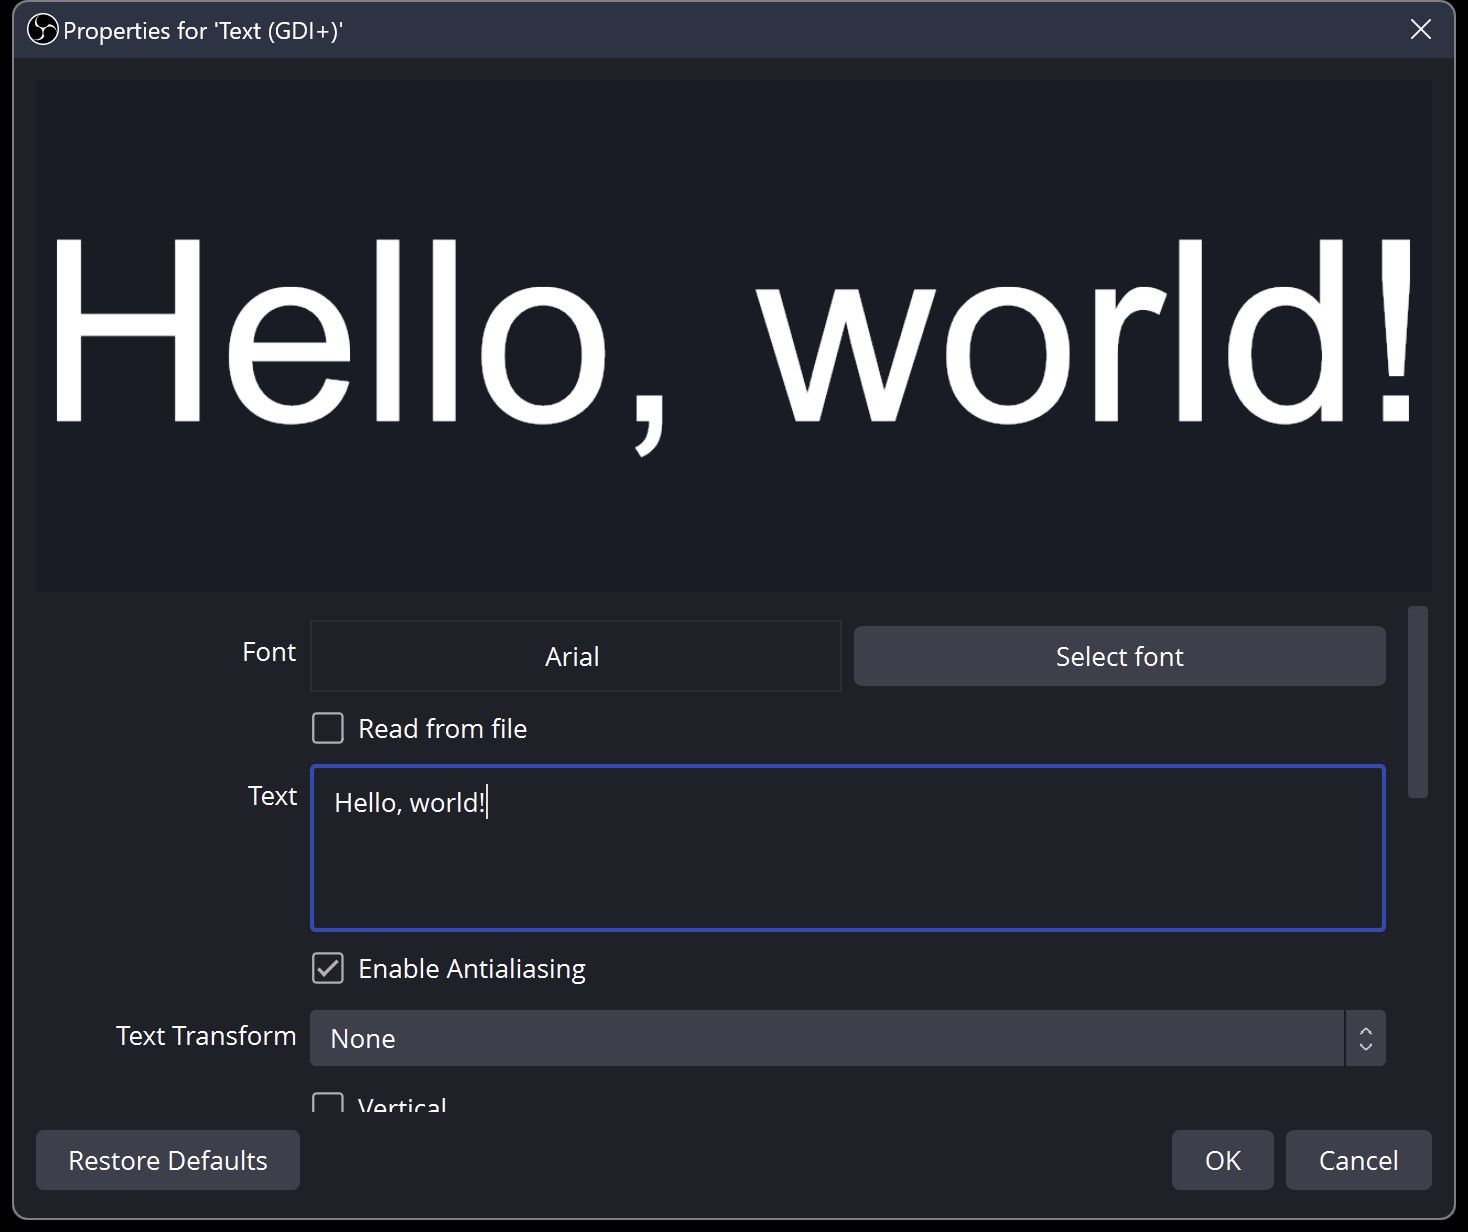
Step 2: Preview the text
After you’re done with naming, it will ask you to add text. So, paste the text and see its preview.
NOTE: I have taken all the images above from this YouTube tutorial.
Source
Here are the properties you can set the Text (GDI+) for! After you’re done with all the settings, click on OK.
Add images in OBS Studio
Images are more accessible to add than other elements. Let’s check its tutorial below!
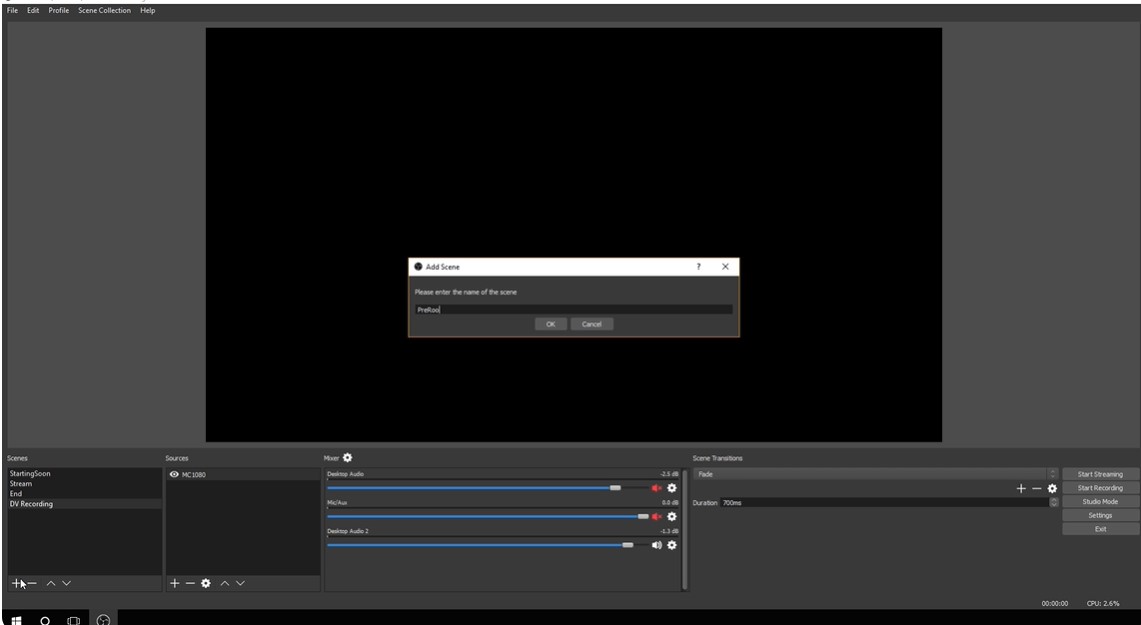
Step 1: Create a scene
Firstly, add a scene by clicking the + button at the bottom-left corner. Name it and hit the Enter tab.
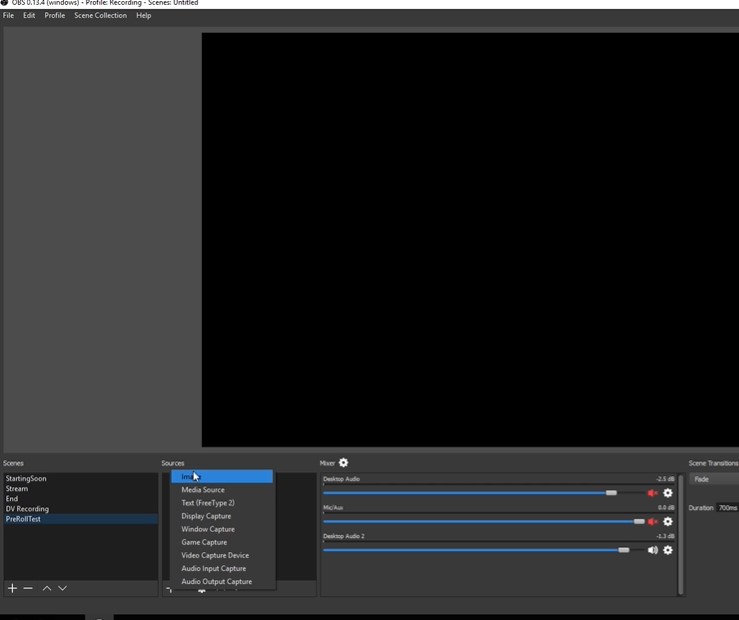
Step 2: Add image
Go to Sources and click the + button. Select the Image as shown below.
Select the image you want to add and hit the OK button after you’re done.
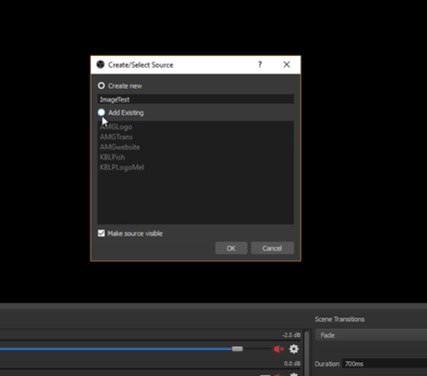
A popup window appears where you can browse your image.
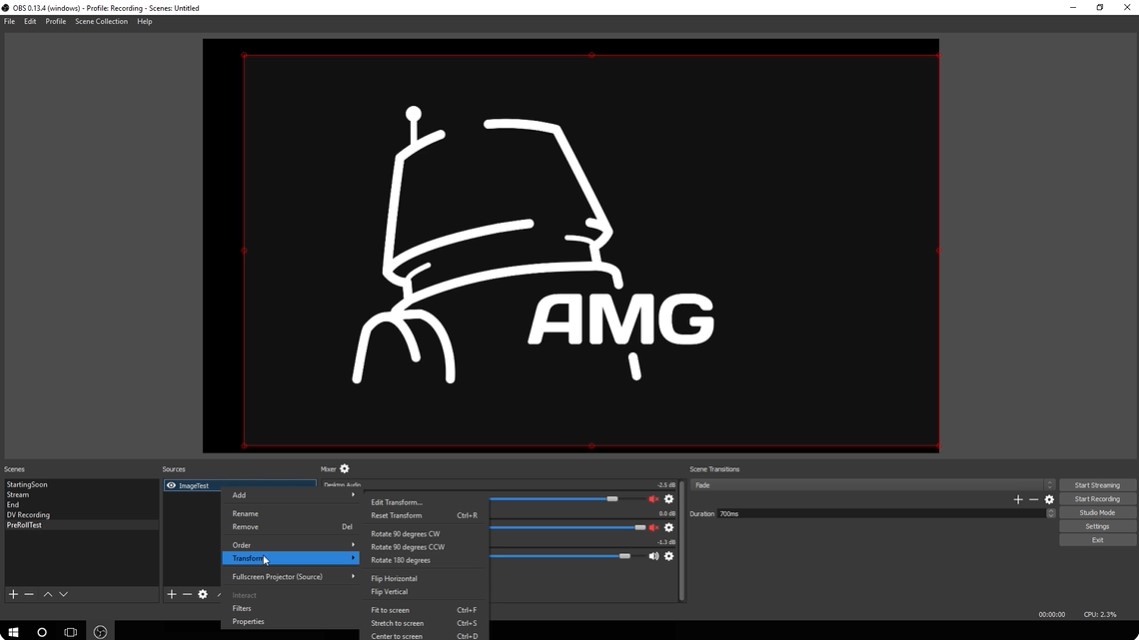
Step 3: Adjust the image
You have added an image, but adjustments are yet to be made. You can simply make adjustments by dragging the image. Or, you can right-click the image in Sources, select Transform, and then choose the settings you want to make.
Note: All the screenshots are taken from this YouTube tutorial.
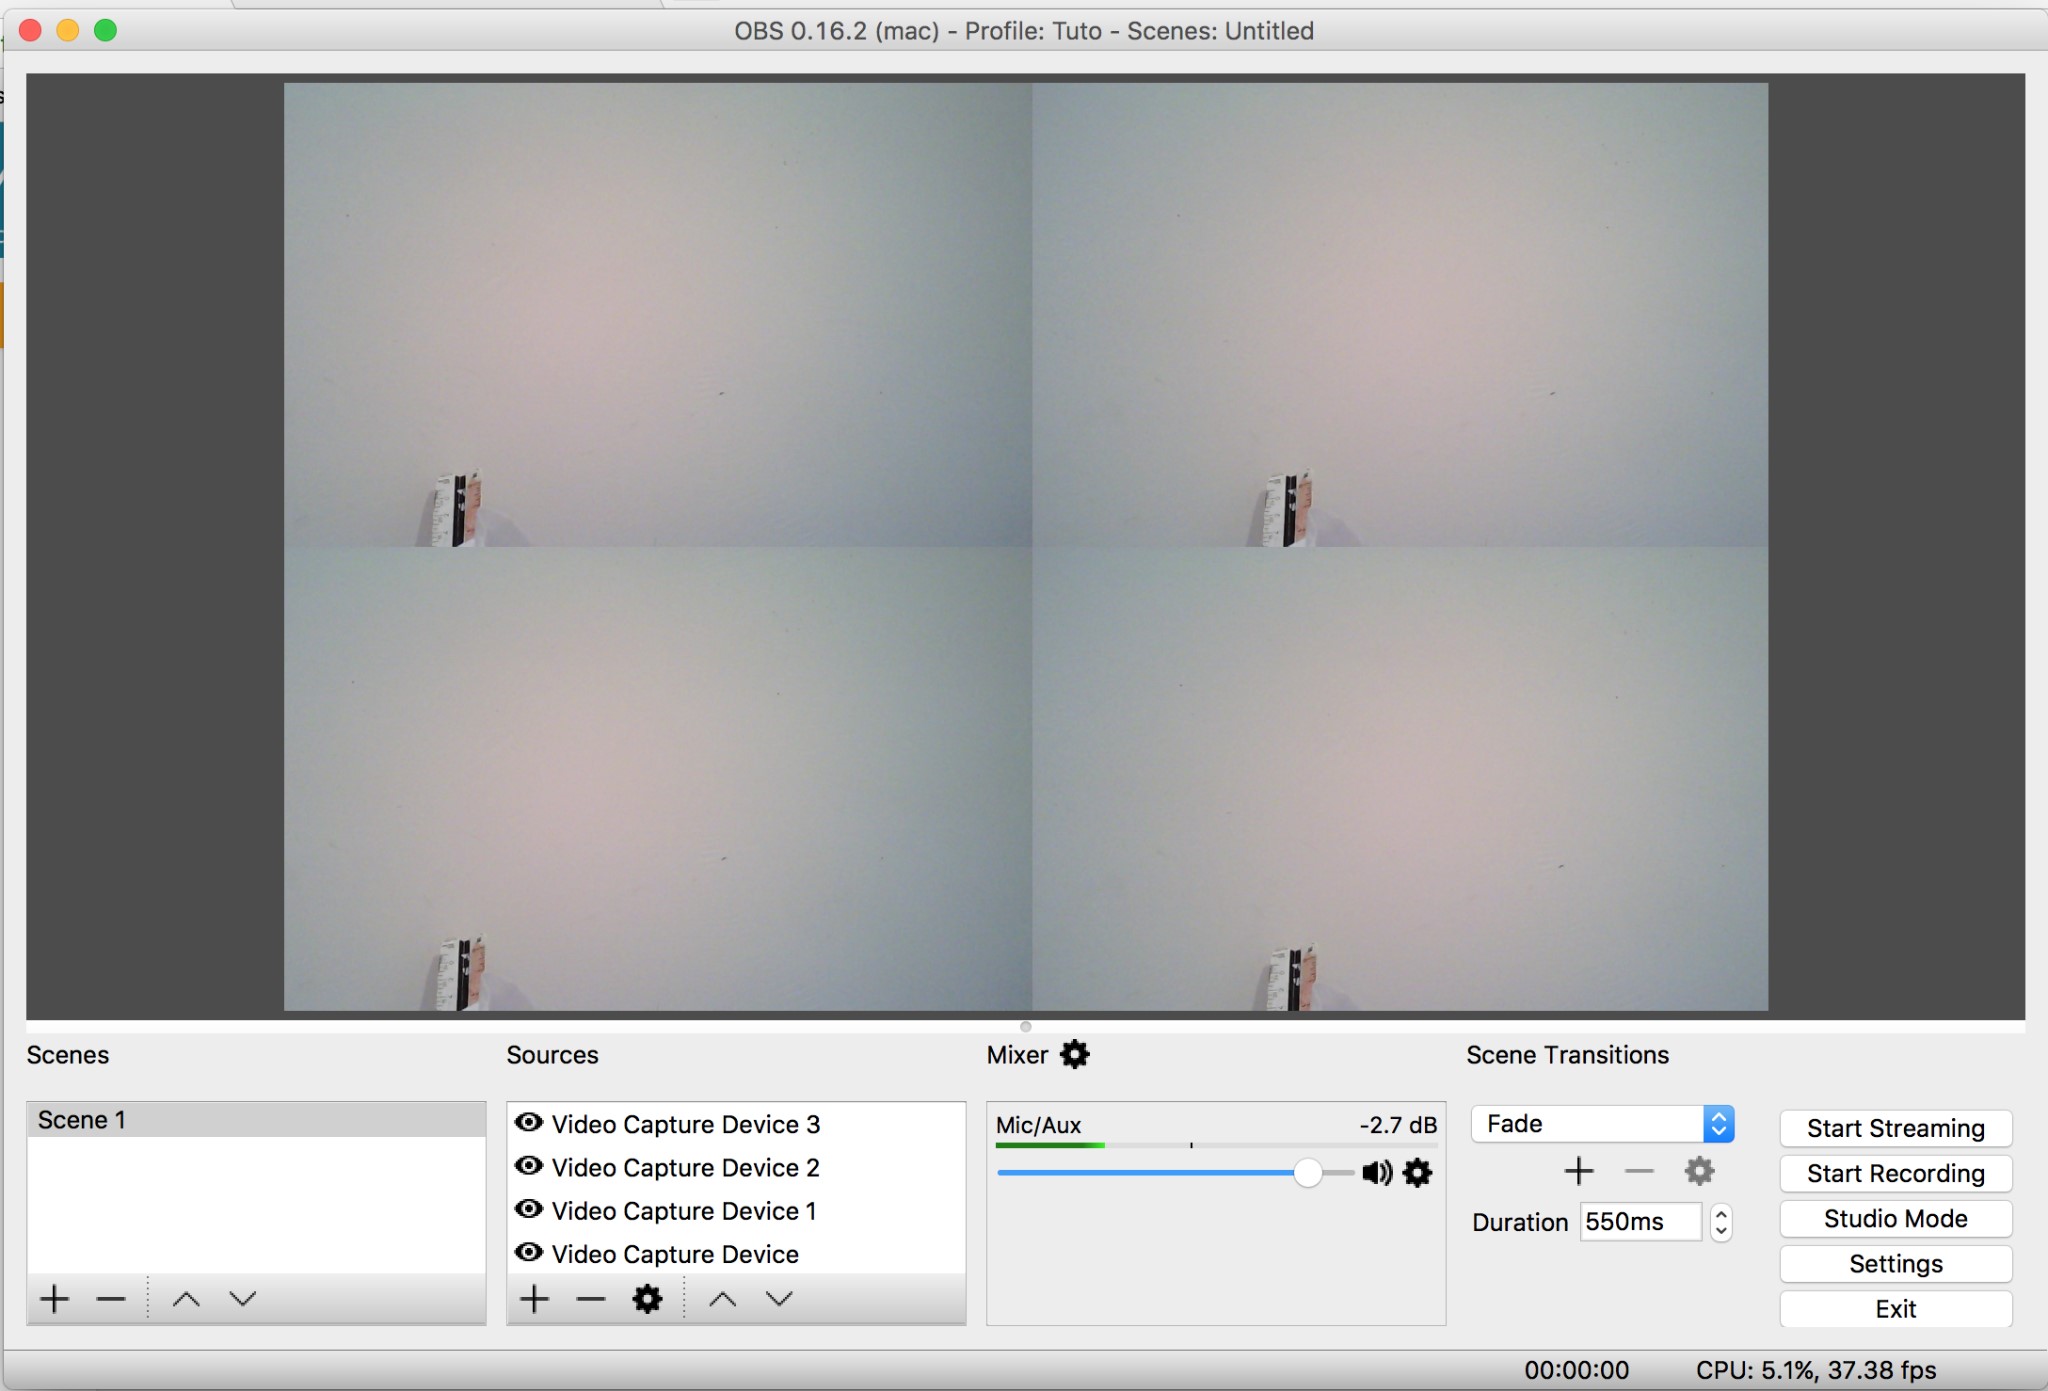
How do you arrange multiple video sources on OBS Studio?
You must repeat the steps to add and arrange multiple video sources simultaneously.
Step 1: Select Video Source
Firstly, choose a video input source, as shown below.
Step 2: Adjust video sources
Now, adjust and fit the source as illustrated below.
Step 3: Repeat the steps
Repeat Step 1 and Step 2 two to three more times, depending on the number of video sources you want to add. Ensure you set each frame to leverage the entire available space.
How do you set up hotkeys on OBS Studio?
Setting up hotkeys eases the process. However, we advise avoiding adding hotkeys or shortcuts to every OBS action and adding hotkeys only for regular actions.
The steps to set up hotkeys are given below.
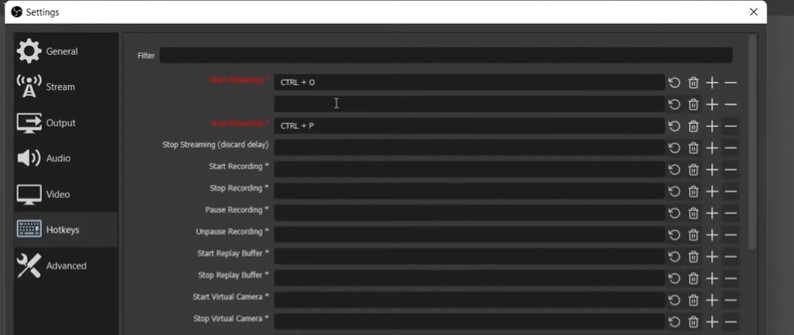
Step 1: Go to the Hotkeys tab
Launch your OBS Studio and click Settings> Hotkeys.
Step 2: Add combinations
Add combinations like Ctrl+O, Ctrl+P, etc., to set up hotkeys for actions stated beside them.
You can click the trash icon to delete this combination. You can also tap the + icon to add another combination. You can have as many shortcut key combinations for a single action as possible.
Click the – icon in front of them to remove those multiple combinations.
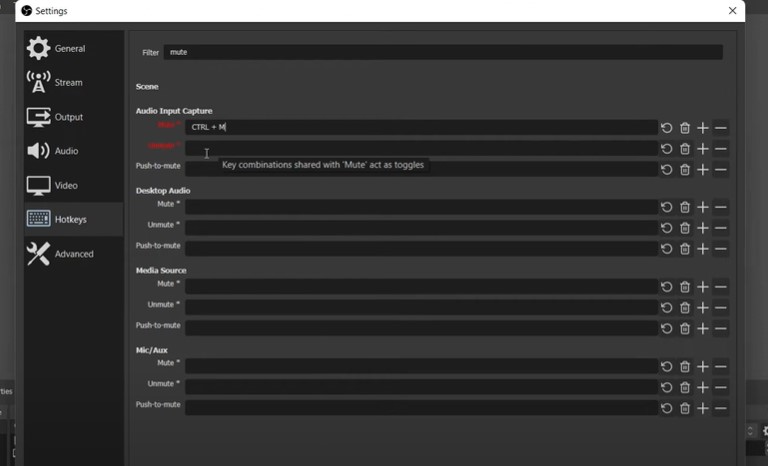
Step 3: Filter hotkeys
Let’s suppose you want to add a hotkey for Mute. Type Mute in the Filter tab above and set its combination as illustrated below.
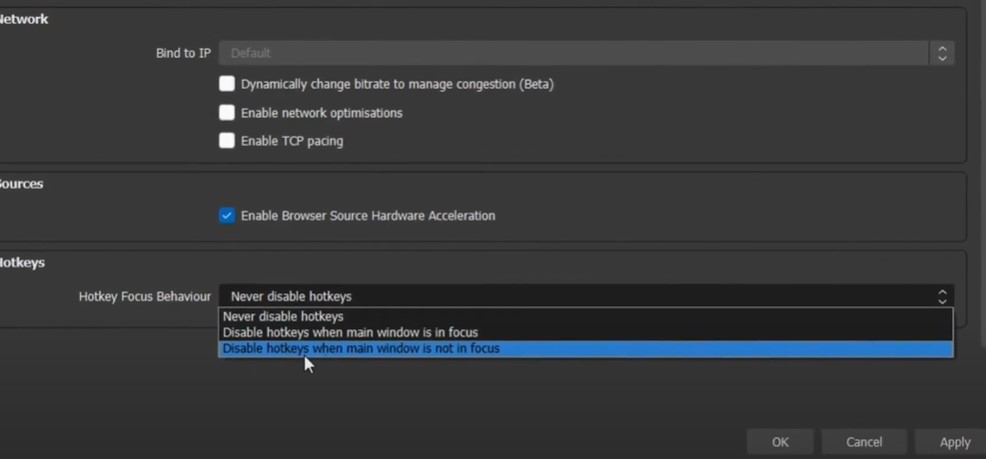
Step 4: Change hotkey focus behavior
It means to stop the functioning of hotkeys on the main window. So, you have three options to select here: Never disable hotkeys, Disable hotkeys when the main window is in focus, and Disable hotkeys when the main window is not in focus.
NOTE: All the screenshots are taken from this YouTube tutorial.
Choosing the Right OBS Studio Encoder Settings
An encoder is a software program or a hardware device that allows stream broadcasting. It also manages an advanced production with multiple cameras and microphones.
It converts RAW digital files to digital formats. The encoder also optimizes a video’s content for a live-stream broadcast. You will get an option to set the Encoder while adjusting the output settings.
Choose NVIDIA NVENC H.264 as an ideal encoder option. Alternatively, you can select x264 if you don’t see the previous encoder as an option. Your graphics hardware might not support it.
Features
Here are some of the critical features of OBS Studio!
Screen Capture
You can capture the screen in HD quality and start streaming right away. It helps capture each activity you do on the screen and illustrate it in real-time to your viewers.
Video Recording
You can record for as many hours as you want. There are no time limits. For video recording purposes, you can set a microphone as an audio source and a webcam as a video source.
Video Broadcasting
It contains exceptional features to stream real-time videos despite being 100% free. It also supports live streaming on multiple platforms, including YouTube, Twitch, Facebook Live, and Hitbox.
Flexibility to Set Hotkeys
As mentioned, you can set as many hotkeys as you want for a single action. There are multiple hotkey actions you can select among and set combinations for. Also, you can set your desired combinations for each action.
Video Capture Quality
Adjusting video capture quality is also flexible. You can set your desired resolution and FPS (frames per second).
Interactive Audio Mixer
OBS’s audio mixer is a mix of different options, including multichannel, multilanguage, and single-channel streaming. You can also broadcast a single video in multiple languages or enable a live translation feature.
OBS’s audio mixer includes features like noise suppression, noise gate, gain, etc.
Robust Configuration
It includes configuration settings to add new sources, duplicate existing ones, and manage their properties with zero hassle. You can set inputs from multiple sources, such as images, window captures, webcams, text, microphones, capture cards, and more.
Pros
- 100% customizable
- Simple to use on-screen elements
- Flexible
- Live uploading
- Multilanguage support
Cons
- Lack of custom color schemes
- It may not work smoothly with multiple sources at once
Conclusion
So, you are no longer a newbie in using OBS Studio! Hopefully, we have discussed everything about using OBS, whether it’s how to use it, add sources, add images/text, add multiple video sources at once, set ideal encoder settings, set hotkeys, and more.
Use this info to create an impactful live-streaming video now!
FAQs
What are the sources in OBS Studio?
Sources in OBS software refer to various types of input content you can add to your scenes. They are building blocks of broadcast or recording, consisting of different options, such as text, images, video, audio, and more.
What is the best use of OBS?
Based on our experience and in-depth research, OBS is more successful as one of the top-notch live streaming software.
Is OBS easy to use?
Yes, it’s easy to get started. If you still face any issues, read our guide above and thank us later!